As temperatures drop every winter, homeowners rely heavily on their water heaters to keep showers warm, appliances running smoothly, and household routines uninterrupted. However, cold weather is also one of the leading causes of water heater strain, heat loss, and even system failure. Winterizing your water heater is an essential maintenance task that helps extend the life of your unit, minimize energy waste, and prevent expensive repairs.
Whether you use a standard tank-style heater or a tankless system, proper winter preparation ensures your water heater operates safely and efficiently. Below is a complete guide to the most important winterization steps, including expert-backed guidelines and reliable resources to help you protect your home.
For professional water heater service or maintenance, visit Einstein Pros
Why Winterizing Your Water Heater Matters
During winter, plumbing systems and appliances experience increased demand and lower ambient temperatures. These conditions can lead to heat loss, freezing risks, increased energy usage, and higher strain on the unit. Winterization helps:
- Prevent heat loss and freezing
- Improve energy efficiency
- Reduce wear and tear
- Avoid sediment buildup
- Lower utility bills
- Extend the lifespan of the water heater
Government and efficiency programs such as the U.S. Department of Energy’s Water Heating Guidance recommend seasonal maintenance to improve performance.
1. Insulate the Water Heater Tank and Pipes
Heat loss significantly increases during colder months, especially if your water heater is located in an unheated garage, basement, or utility area. Insulating both the tank and exposed pipes is one of the simplest and most effective ways to increase overall efficiency.
The Department of Energy states that adding insulation to the first few feet of hot and cold water pipes can reduce heat loss and improve system performance.
A water heater blanket specifically designed for your model helps maintain consistent water temperature, reducing the workload on the unit.
2. Flush the Tank to Remove Sediment
Sediment buildup is one of the leading causes of water heater inefficiency. Minerals and debris settle at the bottom of the tank over time, creating insulation that forces the heater to work harder. Before winter, flushing the tank is essential.
The Environmental Protection Agency (EPA) WaterSense Program recommends routine maintenance to reduce water waste and improve appliance longevity.
A full tank flush can:
- Improve heating efficiency
- Reduce energy usage
- Minimize corrosion
- Prevent rumbling or popping noises
3. Check the Temperature and Pressure Relief Valve (T&P Valve)
The T&P valve is one of the most important safety components of any water heater. It automatically releases pressure when levels exceed safe limits. Winter weather increases pressure fluctuations, making it essential to test this valve before temperatures drop.
To check the valve:
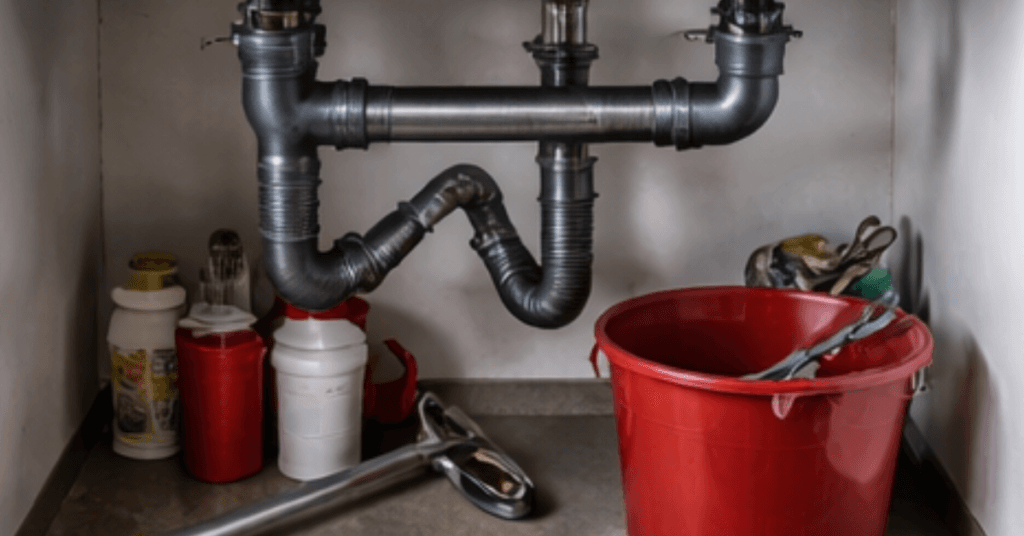
- Place a bucket under the discharge pipe
- Lift the valve lever gently
- Ensure water flows out freely and stops properly
If the valve is stuck, leaking, or nonfunctional, have it replaced immediately.
4. Lower the Thermostat to 120°F
Many homeowners mistakenly set their water heater to a higher temperature in winter. However, the DOE recommends 120°F as the ideal balance between safety, efficiency, and comfort.
Water Heater Temperature Guidelines: https://www.energy.gov/energysaver/when-lower-water-heater-temperature
Setting the thermostat correctly can:
- Prevent scalding
- Reduce energy costs
- Minimize heat loss
- Reduce system strain
5. Insulate the Water Heater Area
If your water heater sits in a cold location like a garage or crawlspace, insulating the surrounding area also boosts efficiency. Adding weatherstripping, foam board insulation, or sealing gaps around the water heater closet helps maintain stable temperatures.
6. Inspect the Anode Rod
The anode rod prevents corrosion inside your water heater tank. Winter demands accelerate corrosion due to higher usage and temperature fluctuations. Inspecting (and replacing if necessary) the anode rod is a crucial winterization step.
Signs your anode rod needs replacement include:
- Rust-colored water
- Metallic taste
- Water heater rumbling
- Visible corrosion when inspected
7. Consider Installing a Freeze Protection System
For tankless water heaters especially, freeze protection is critical. Many modern units include built-in freeze prevention, but older systems may need additional insulation or a circulating pump.
The DOE advises protecting all plumbing components susceptible to freezing, as bursts and water damage can be extremely costly.
8. Test the Heating Elements or Burner
Electric heaters rely on heating elements, while gas heaters use a burner system. Before winter, verify:
- Gas burners are clean and free of debris
- Electric elements are functioning
- There are no signs of soot or corrosion
- The flame is blue and steady for gas models
A weak burner or faulty element reduces efficiency and increases energy consumption.
9. Seal Air Leaks Near the Water Heater
Drafts can dramatically reduce water heater performance, especially for gas units. Seal gaps around doors, windows, vents, and floors using caulk or weatherstripping. Preventing cold air from entering improves heater efficiency and reduces energy waste.
Final Thoughts
Winterizing your water heater is not just about comfort—it is about protecting one of the most vital systems in your home. By following these steps, homeowners can reduce energy usage, prevent breakdowns, and extend the lifespan of their water heater. Seasonal maintenance ensures consistent performance throughout the coldest months of the year.
For reliable water heater inspection, winterization, or repair, visit Einstein Pros.